UI Elements
In this part of the tutorial you will learn about the basic user-interface elements.
-
Main Menu
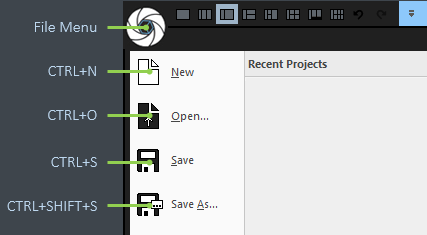
Click on the RealityCapture logo in top-left corner of the application window to open the main menu. The menu contains file options, recent projects and exit.
-
Content list
When set to the 1Ds aspect type, the left panel turns into a content list. You can see all items in your project: inputs, components, models, texture layers, control points, etc.
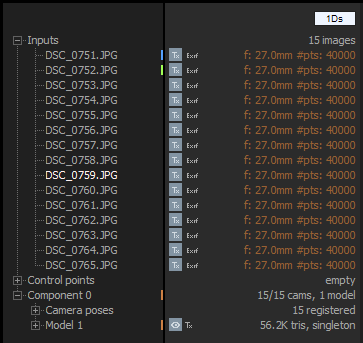
To change the order of individual items, sort them by Index, Name, or Full Path in the SCENE 1D/VIEW tab. You can also enable input grouping by path by checking the Group by paths box in the same tab.

-
Panels
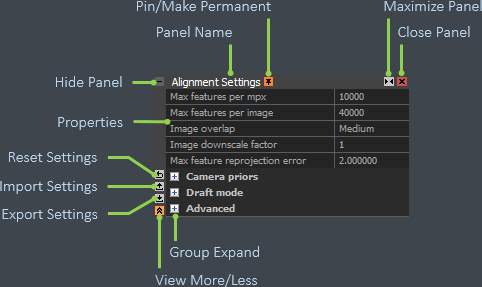
A panel is a 1D representation of an object or a tool. Panels mostly display object states or settings, but they can also contain actions.
-
Pivot Widget
The pivot widget is invoked by left double-click on a point cloud in the 3Ds view. The camera rotation tool is then using the pivot to guide rotations around the pivot location.

-
Orientation Widget
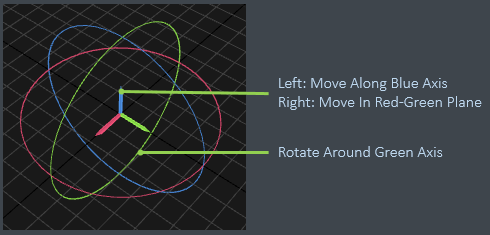
This widget allows setting rotation and position of a scene component. The component scale is preserved.
-
Box Widget
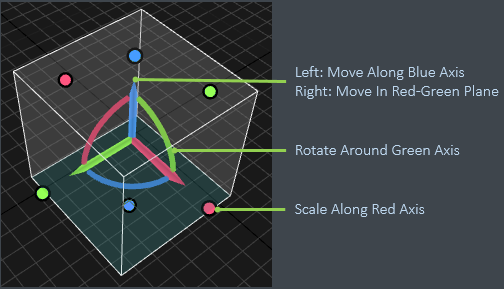
Various tools use the box widget, e.g. Set Reconstruction Region. To set the box placement and dimension, you can use the selection info panel or box widget.
This concludes the tutorial.