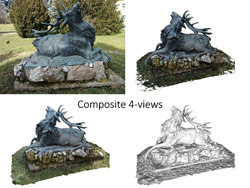
Render Image
Please note that the software/application is displaying the model based on the computer resources. If the system resources are limited, only a point cloud or less-detailed texture is rendered.
However, the following tool enables you to see the whole mesh and to create an image of it, which allows you to visualize the reconstructed 3D model in the highest detail and from any angle.
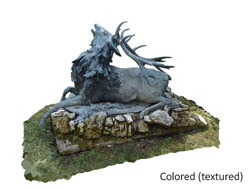
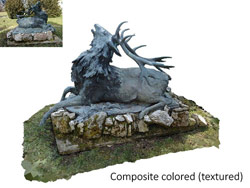
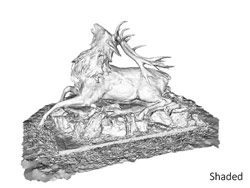
The Render tool renders the chosen 3D view into an image which shows a full mesh and can be saved to your disk.
-
If you want to render a view, you must have the images aligned, the model calculated and the 3D view selected. You can then go to the Export part of the WORKFLOW or RECONSTRUCTION tab and click on the Render button.
-
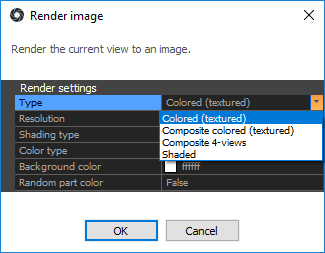
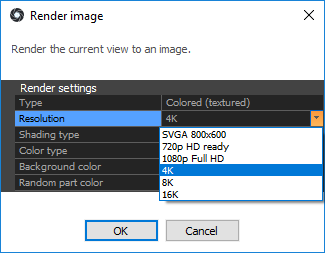
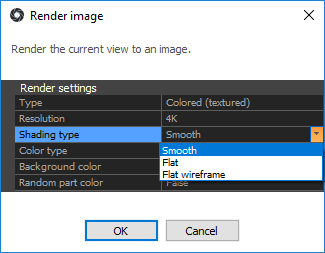
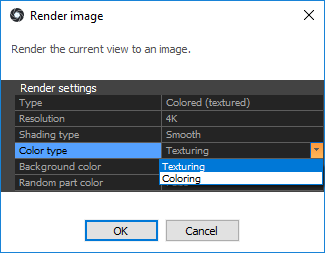
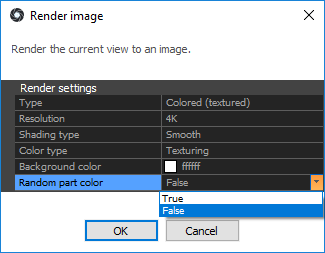
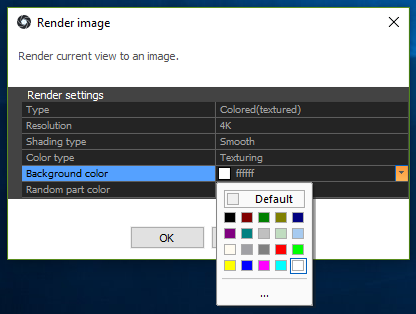
After clicking, the Render image window pops up with various parameters, each with a separate pull-down menu:
- Color type defines the source of colors for rendering.
- Coloring uses per-vertex colors of the model. Triangles' faces are colored using a linear combination of its vertices.
- Texturing uses textures calculated from input photos, and triangles are filled with small images. This method is therefore more realistic than coloring.
(For more information about model coloring and texturing click - Coloring and Texturing.)
- Background color defines a color of pixels which have not been rendered.
The default color is white. It is possible to choose from a preset or customized color:
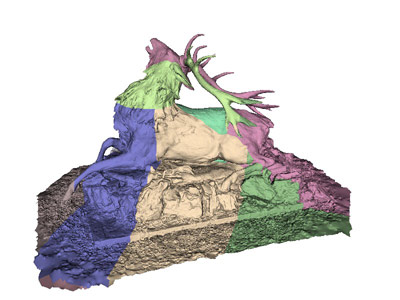
- Set the Random part color to True, when you want to see of how many parts consists your model or just want to get a more artistic output with more colors.
This works only with the shaded type render and is most visible in the smooth and flat shading type.
- When you are satisfied with the render settings, click OK, type the file name, choose the file destination and format (either JPEG or PNG) and click the SAVE button to complete the process.
The image will be then saved and opened automatically.
- Please note that you cannot render another view until the first one is completed.
