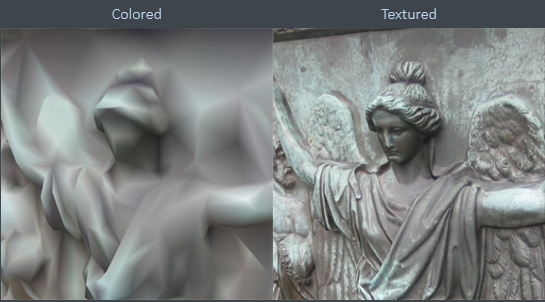
Coloring and Texturing
When you have already created a model, you are now able to proceed with adding colors to it, which can be done either by using a (F8) or (F9) function. It is important to understand the difference between the two of them. Coloring creates only colors for model vertices, which is fine for denser objects, and which makes the model smaller in size, compared to a textured model. Simply speaking, texturing creates a small image for each triangle of the model. It actually creates one or more images called textures and defines mapping among them and triangles. This mapping is called unwrap. This method is therefore more realistic than coloring.
Which Inputs are Used?
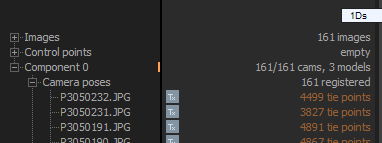
A certain image is used for texturing/coloring when the Tx sign, which can be found next to the image in the Camera poses list under a component, is in a light-gray box. You can disable (D) the image for texturing/coloring by clicking on the Tx button, which will remove the light-gray background box behind the Tx sign. You (re-)enable (E) using the texture by clicking the Tx again:
You can also multi-select images/cameras and enable (E)/disable (D) texturing/coloring in the Component's panel.
See also:
- Learn more about image multi-selection click here
- Learn how to render screenshots click here
- Learn how to create and export an Ortho-Photo & DSM click here
- Learn how to export your 3D reconstruction click here