Reconstruction Region
If you want to reconstruct just a specific part of a scene, you can place and/or modify a reconstruction region. If you want to reconstruct the whole scene, then just skip this step. From the practical point of view, it is reasonable to restrict the reconstruction to a reasonable area. By doing this you will speed up a model computation, as unimportant parts of the scene will not be considered at all.
- Select the MESH MODEL tab and look for the Pre-steps (Optional) part.
- Click the Set Reconstruction Region button, which will create the reconstruction region automatically in the 3Ds view.
- If you open the Set Reconstruction Region dropdown menu, you will have more options to create a reconstruction region:
- Set Region Automatically - an option to detect a reconstruction region automatically based on the size of the point cloud (ctrl+shift+U).
- Set Region on Grid - create a reconstruction region on the grid with three clicks of the left mouse button. First two CLICKS define the base of the reconstruction region on the grid, and the third CLICK defines the height of the reconstrution region. Height doesn't have to be just above the grid.
- Set Region from Clip Box - this option will transform the Clipping Box into the reconstruction region. However, this will not clear the clipping box.
- Set Region on Reconstruction - create a reconstruction region by CLICKING onto the model. First two clicks define the width of the reconstruction region, the third click defines the length of the region, and the fourh click defines the height of the reconstruction region.
- Set Region from Control Points - if you are using control points you can create a reconstruction region on them with this option which enables snapping onto the control points. Use three points to define the base of the reconstruction region - the first two to define the width and the third one to define the length. The fourth one can be used to define the height of the region.
- Clear Region - clear the reconstruction region from the 3Ds view.
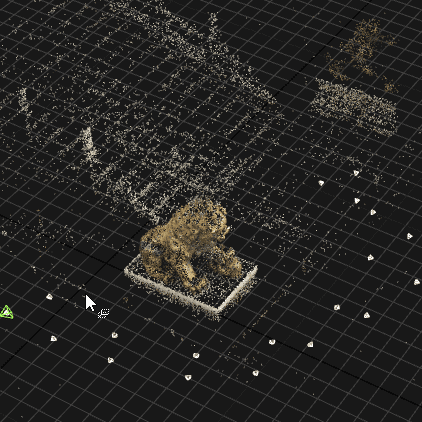
If you chose to create a reconstruction on the grid, move your mouse into the 3Ds view:
- Click the left mouse button to define the top-left corner of the bottom side of the region (origin).
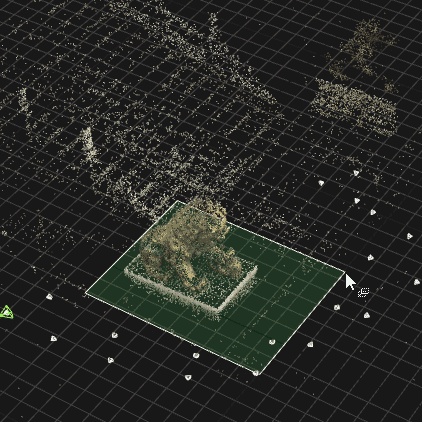
- Move the mouse to define the base of the reconstruction box (width and length).
- Click the left mouse button to confirm the bottom side of the region.
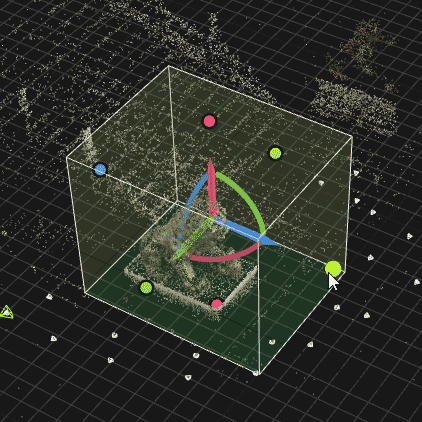
- Move the mouse to adjust the height of the region.
- Click the left mouse button to confirm the region.
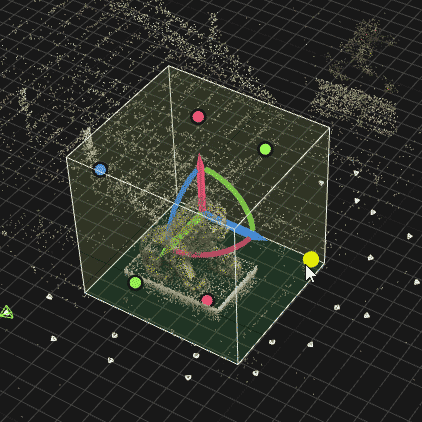
Define the box and use the box widget to move and/or rotate and/or adjust dimensions of the region.
TIP: You can rotate a scene, change a view or continue the box creation in another view.
Use the right click to return back to the previous step. Use bullets on the sides of the box to adjust the box dimensions.
Export and Import the Reconstruction Region
You have the option to use the reconstruction region also in another projects. You can use the Reconstruction Region button in the Export part of the SCENE 3D/TOOLS tab to export the reconstruction region.
To import it into another project you can use the Import Reconstruction Region button, which you can find in the Pre-steps (Optional) part of the MESH MODEL tab.
See also:
- Learn how to set the box position and orientation manually click here
- Learn how to rotate and translate a scene click here


